3D-Printed Tibialis Raise Bar

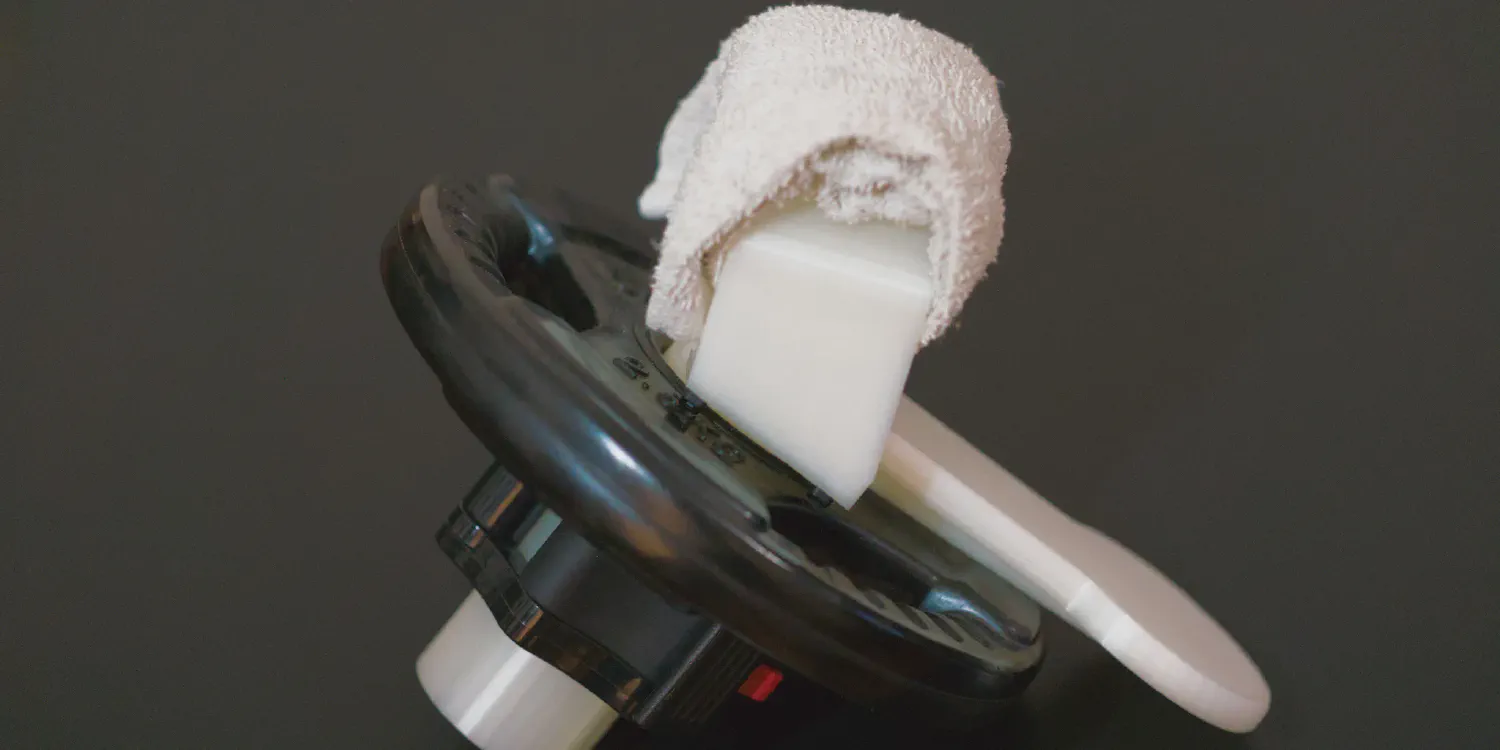
Table of Contents
Introduction
It’s been a while since I designed and printed the first prototype of this tibialis raise bar, and half a year since I’ve put it online for others to use (posted also on reddit under a throwaway account).
A proper description of the design, assembly, and usage of the bar is long overdue, considering that there was a lot of interest in it, and people have printed it already.
In this article, I will describe all necessary steps to print, assemble, and use the tib raise bar. If you don’t have a 3D printer, don’t worry - you can find a local 3D printing service. Many people with 3D printers offer their services, and typically it is much cheaper than you think - search local marketplaces like Facebook Marketplace, Craigslist, or do a Google search for “3D printing in [your city]”.
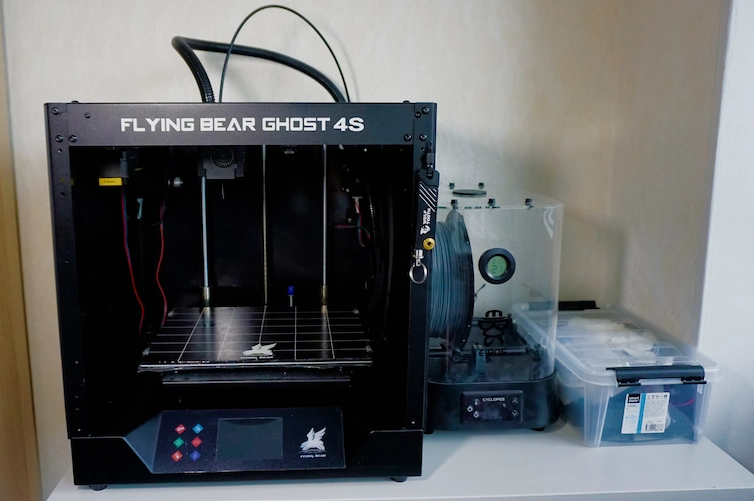
Flying Bear Ghost 4S
I’m using a Flying Bear Ghost 4S printer, which is a bit dated now, but still works well for this kind of prints.
Motivation
The motivation for this project was to help recover from a minor foot injury that I sustained from overuse from hiking and cycling. After some research, I found that the tib raise exercise could be a solution - and after some more research I designed this bar.
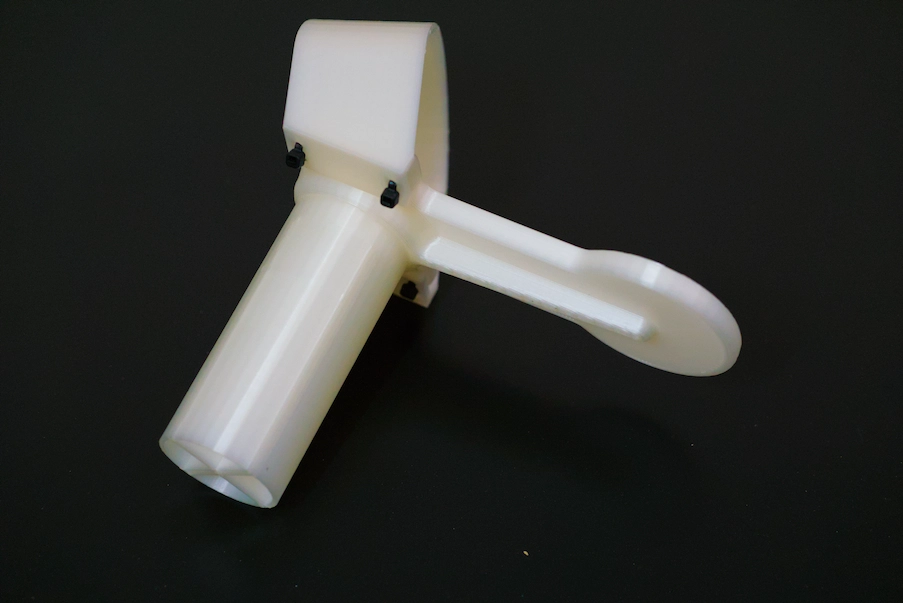
Side view, two parts assembled with zip ties
After a few weeks of using it, the pain went away and I decided to put it online for others to use. A 3D printed design makes this cheaper and more accessible than steel alternatives, and if you already have a printer and olympic plates, you can do it for basically no cost.
3D Printing
For printing, first go to Printables page and download the two model files.
The printing parameters are as follows:
- Nozzle: 0.4 or 0.6mm
- Layer height: 0.2mm
- Infill: 20% (or more, if you want it to be stronger)
- Material: PLA or PETG (PLA is cheaper, but PETG is more durable)
- Supports: None (the model is designed to be printed without supports)
- Infill pattern: Gyroid (or other strength-oriented pattern)
If your printer has a large enough print area, you can print both parts simultaneously. If you have other parameters that you tested for strength-demanding prints, use them instead. What I provide above is just a starting point that worked well for me.
Materials and Assembly
The list of materials:
- 2x 3D printed parts (downloaded from Printables)
- 4x zip ties (or 4x M3 bolts and nuts)
- 1x kitchen towel (or other soft material for the top part)
- Olympic plate(s) (50mm diameter, standard size)
- Lock for the plate (lock-jaw, spring, or other type)
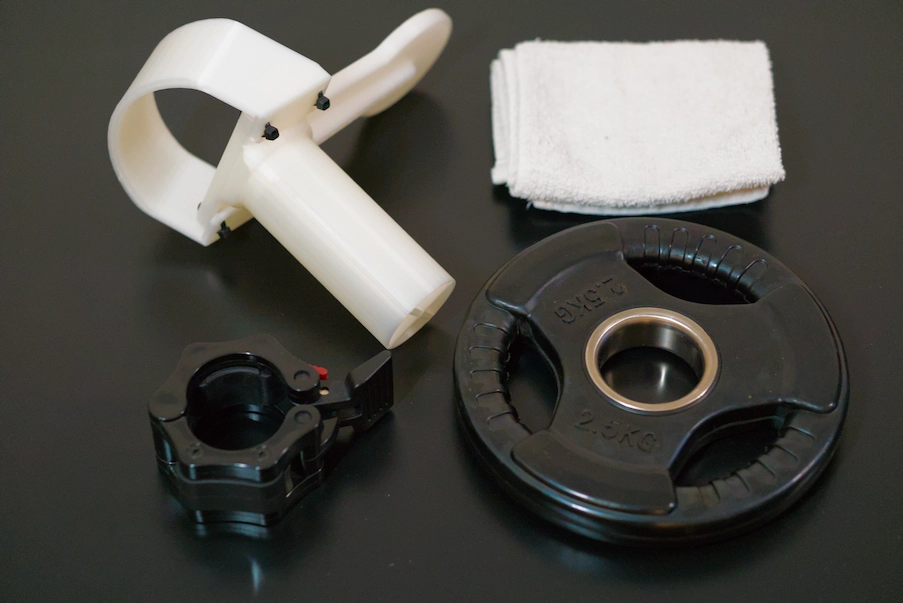
Components
Steps to assemble:
- Print the two parts using the parameters above.
- Take the two parts and put them together, aligning the holes for zip ties or bolts. The top part can go above or below the bottom part, depending on your foot size, but I recommend putting it below - such that it goes around the bottom part and provides more stability.
- Use 4 zip ties to secure the two parts together, or use 4 M3 bolts and nuts.
- Wrap the kitchen towel or other soft material around the top part, such that your foot fits comfortably.
- Add weights like you would with any other bar, and secure them with a lock.
Regarding the size, I designed it to fit my foot, which is size EU43 (US9.5). For larger feet, place the top part above the bottom part for more space. For smaller feet, add extra cushioning or wear shoes while training.
Design
The design of the bar is quite simple, and it is optimized to be a quick and strong print.
There are a number of stiffener plates included in the design:
- The bottom part has a cross-pattern stiffener for added strength without excessive material use.
- The foot plate has a stiffener to prevent it from bending under the load.

Cross pattern for strengthening the bar without wasting material
Usage
Let’s address the main question: how much weight can you put on it?
I’ve experimented with weights up to 10kg, which the PLA-printed bar handled well. I didn’t go beyond that, but doing a proper max load test would be a good idea. If you do it, please share your results in the comments. Overall, for my purposes (recovery), this was more than enough, and doubt that you need to go heavy on this exercise. If that is the case, it’s better to use a steel tib raise bar.

Usage of the bar
How to use it for recovery:
- Start with as light weight as you can, especially if you are injured
- Do higher volume sets (20+ reps) with light weight, 2-3 sets
- Train every other day, and gradually increase the weight as you get stronger
- Take it easy, and listen to your body - if you feel pain, do not push through it
This is just an example of what I did to help with my issue, and I encourage you to do your own research and consult with a professional if you have any doubts.
Conclusion
In case you missed it, download link: Printables page.
Hopefully this article was helpful; if you have suggestions for improving the design or want to share your results, leave a comment below. Have fun with your tib raise bar!
Andrew
Recent Posts

A plug-and-play checklist for an overnight or multi-day hike

Andrew O

A plug-and-play checklist for a day hike, tried and tested
Andrew O

DIY 3D-Printed Mace/Gada for your home gym, filled with concrete and metal filler
Andrew O
Leave a comment
Need help or want to collaborate?
Contact for any inquiries, I'll get back within 24 hours.